
A piece of advice: if you are still not sure of the right size for you, cut it a bit longer than you normally would and try it out without attaching the handle, so you can still adjust the size and cut it again if necessary to reach the ideal length.
 Now let's get on with it! Once you have settled on the length, it's time to attach the handle and start paddling!
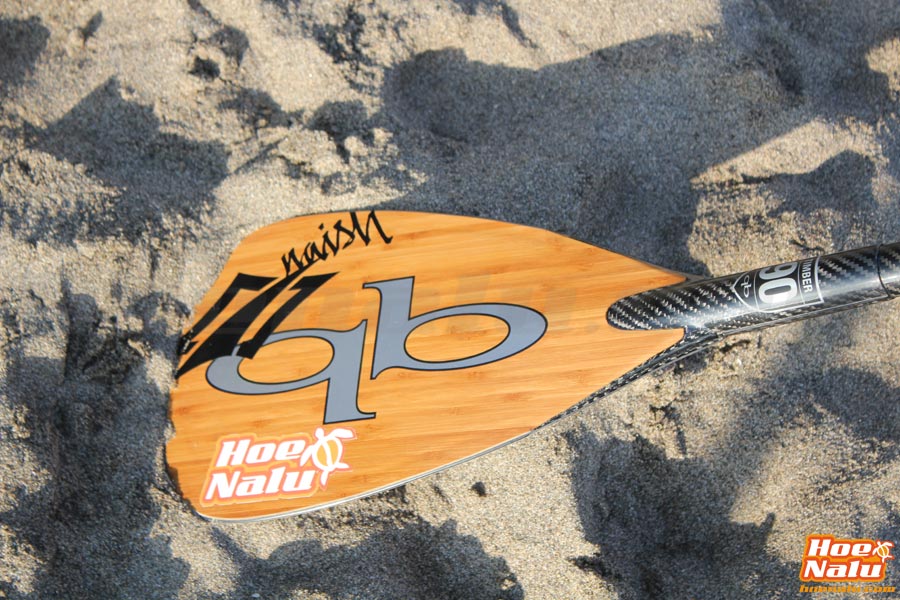
There's no one right way to do this procedure, so take it step by step and see how it works out for you. For the process of creating this post and the step-by-step pictures, we used a Quickblade Kahana Timber carbon paddle.
First off, we need to get the materials required for cutting your paddle and attach the handle correctly, we can normally find them in any regular toolbox.
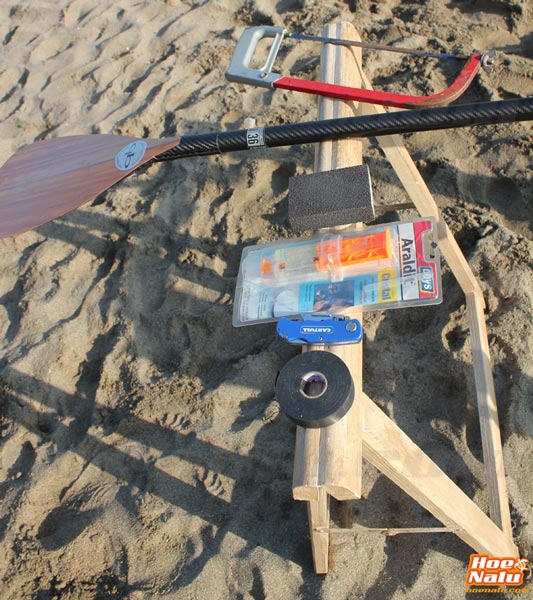
- Hacksaw
- Insulating tape. We recommend getting vulcanized tape, which you can find in most hardware stores
- Two-step Epoxy glue or Plastic glue
- Cutter
- Block of fine sandpaper
- Supporting structure
- A towel that you don't mind getting dirty
- A knack for handywork
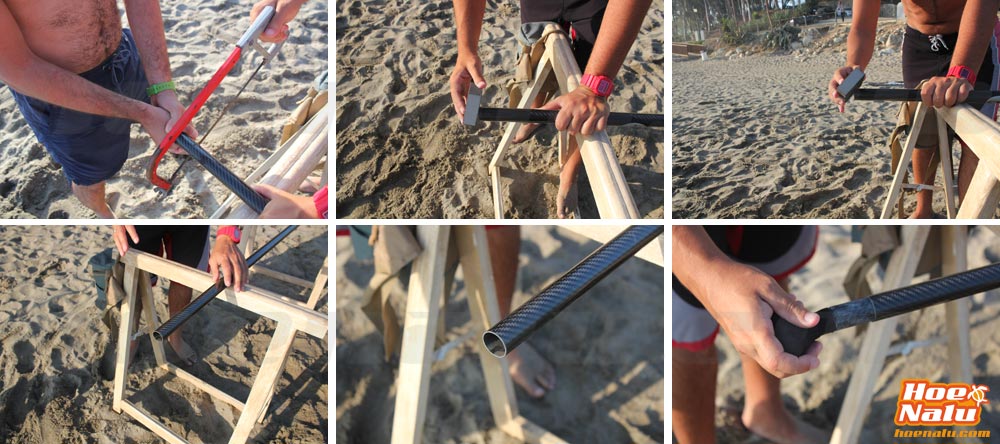
- We first need to use a cutter to make a mark on the shaft and select the spot where we will start sawing. You use the help of a friend for this.
- Using the hacksaw, taking care of placing the paddle on a firm, level surface, you need to start cutting the shaft slowly, making sure the cut is straight. Most paddles are made of aluminum, fiber or carbon, so they should be relatively easy to cut through with the saw.
- Once you have cut the shaft, you need to use the sandpaper on the border to ensure it is clean and smooth. Normally, the handle and inner part of the shaft are not perfectly smooth but have little pores on the inside, so the cutting zone should be sanded. We recommened that you also use the sandpaper on the part of the handle that will be in contact with the rest of the paddle to make sure that the glue sets.
- Use a towel to get rid of any excess dust or dirt. The paddle should be clean.
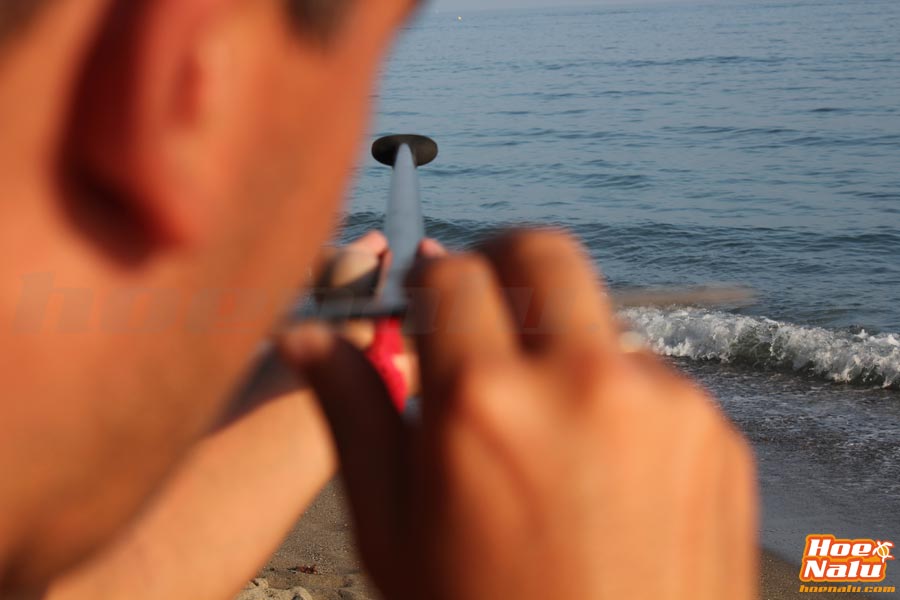
- Place the handle into the shaft and keep turning little by little until it is aligned with the blade. This step is crucial so make sure you get it right! We repeat, the handle should be perfectly aligned with the paddle's blade. Once we found the right position, we prefer to make a small mark or dent on both the paddle and the handle in case we need to calibrate it again after testing.
- We recommend testing the whole thing in the water before gluing it. Use tape to temporarily attach the handle, test the length of the paddle and whether you need to cut it a bit more. Remember, it is better to cut it more than once than overcutting on your first try!

- After you make sure you got the right length, start preparing the glue. You can mix it on a solid surface. Apply a bit of the mixture on the inside of the shaft and in the part of the handle that is in contact with the paddle. We recommend not using too much glue. Push the handle all the way in and use the mark you previously made to align the handle with the blade. You don't need to hurry, the glue will give you a bit of leeway to adjust everything before setting.
- Now you need to wait a bit and keep the paddle on that position to let the glue set. Let it dry for some time. Ideally, you can apply some tape on the joint of the handle and shaft. Vulcanized tape lasts a long time and is very durable.
- You are ready! You've got your own, custom-sized SUP paddle. Remember to let it dry for at least 24 hours before dipping it in water!
If you have any questions regarding the procedure, we will be happy to help you out, just leave a question on the comments section!
We would like to take this chance to remind you of the importance of the SUP paddle when practicing Paddle Surf. Take good care of it and it will last forever. If you get a good SUP paddle, it will last even longer. Remember to use SUP paddle bags and rail protectors and to wash them with fresh water after every use.
Do you have any advice or tips for cutting and attaching a SUP Paddle? Share it with us on the comments section!
